Fitness Online
35 Weekly Livestreams &
Standing Twist Asana Flow — How To Execute and Its Benefits
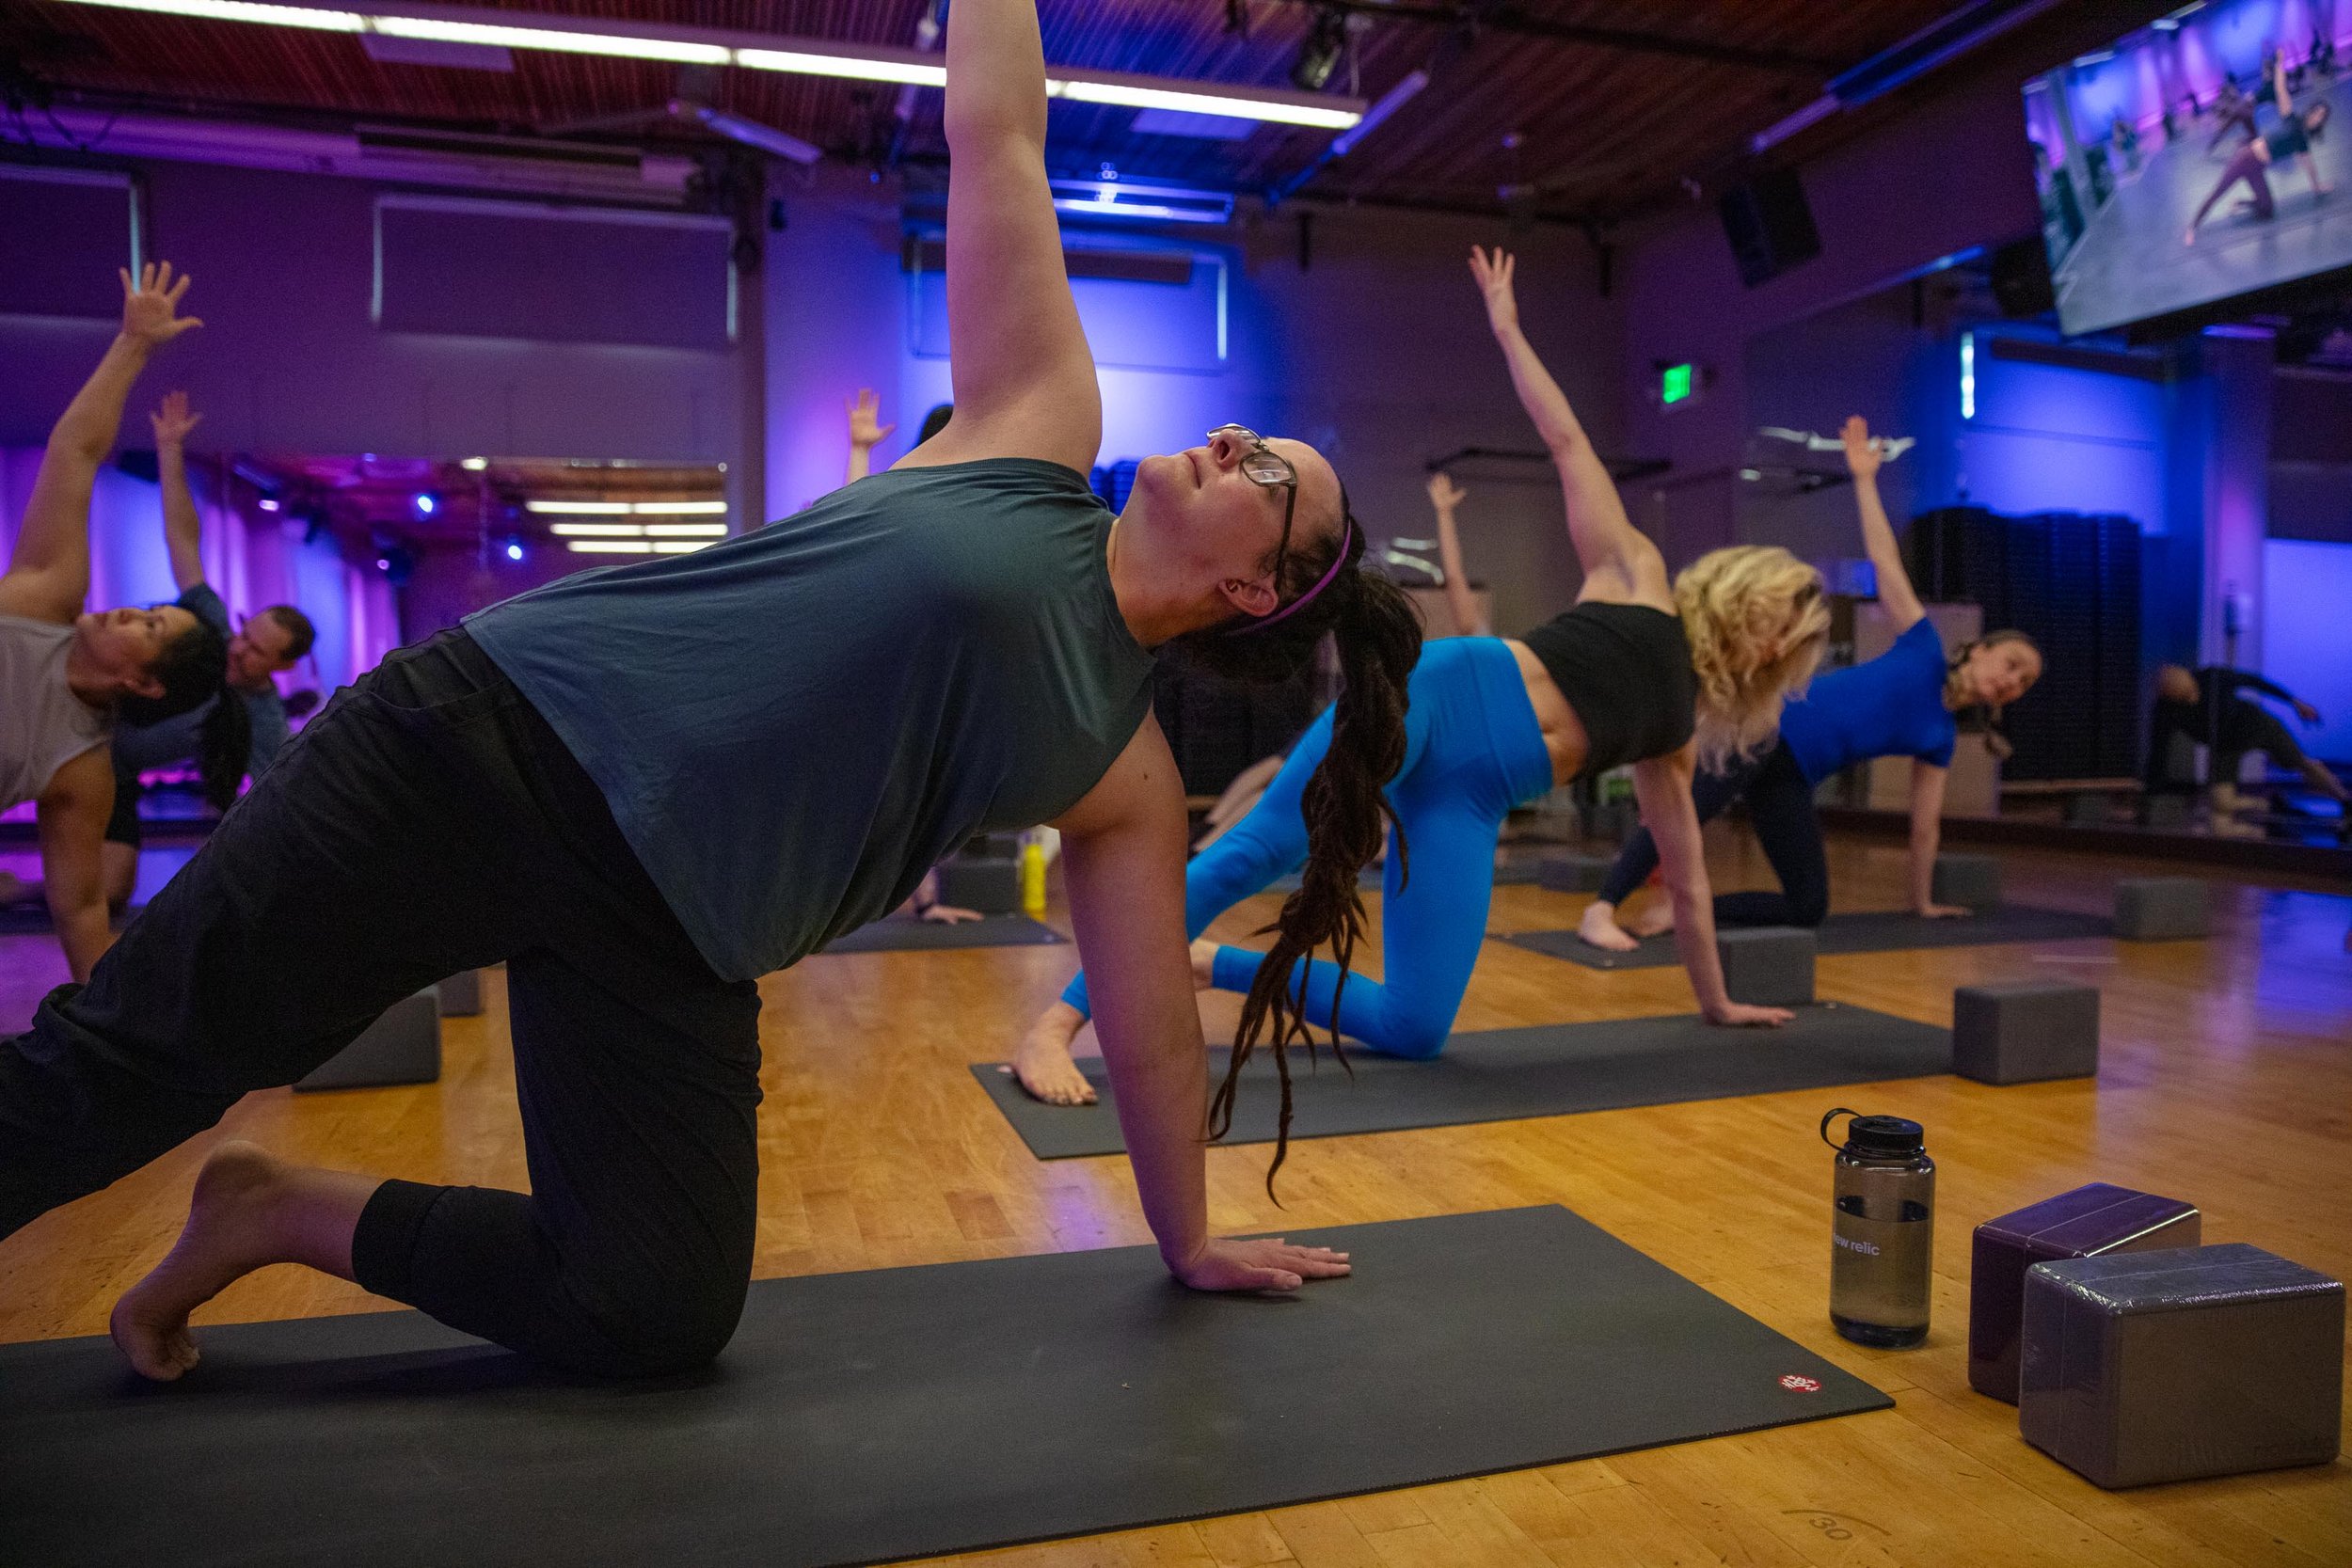
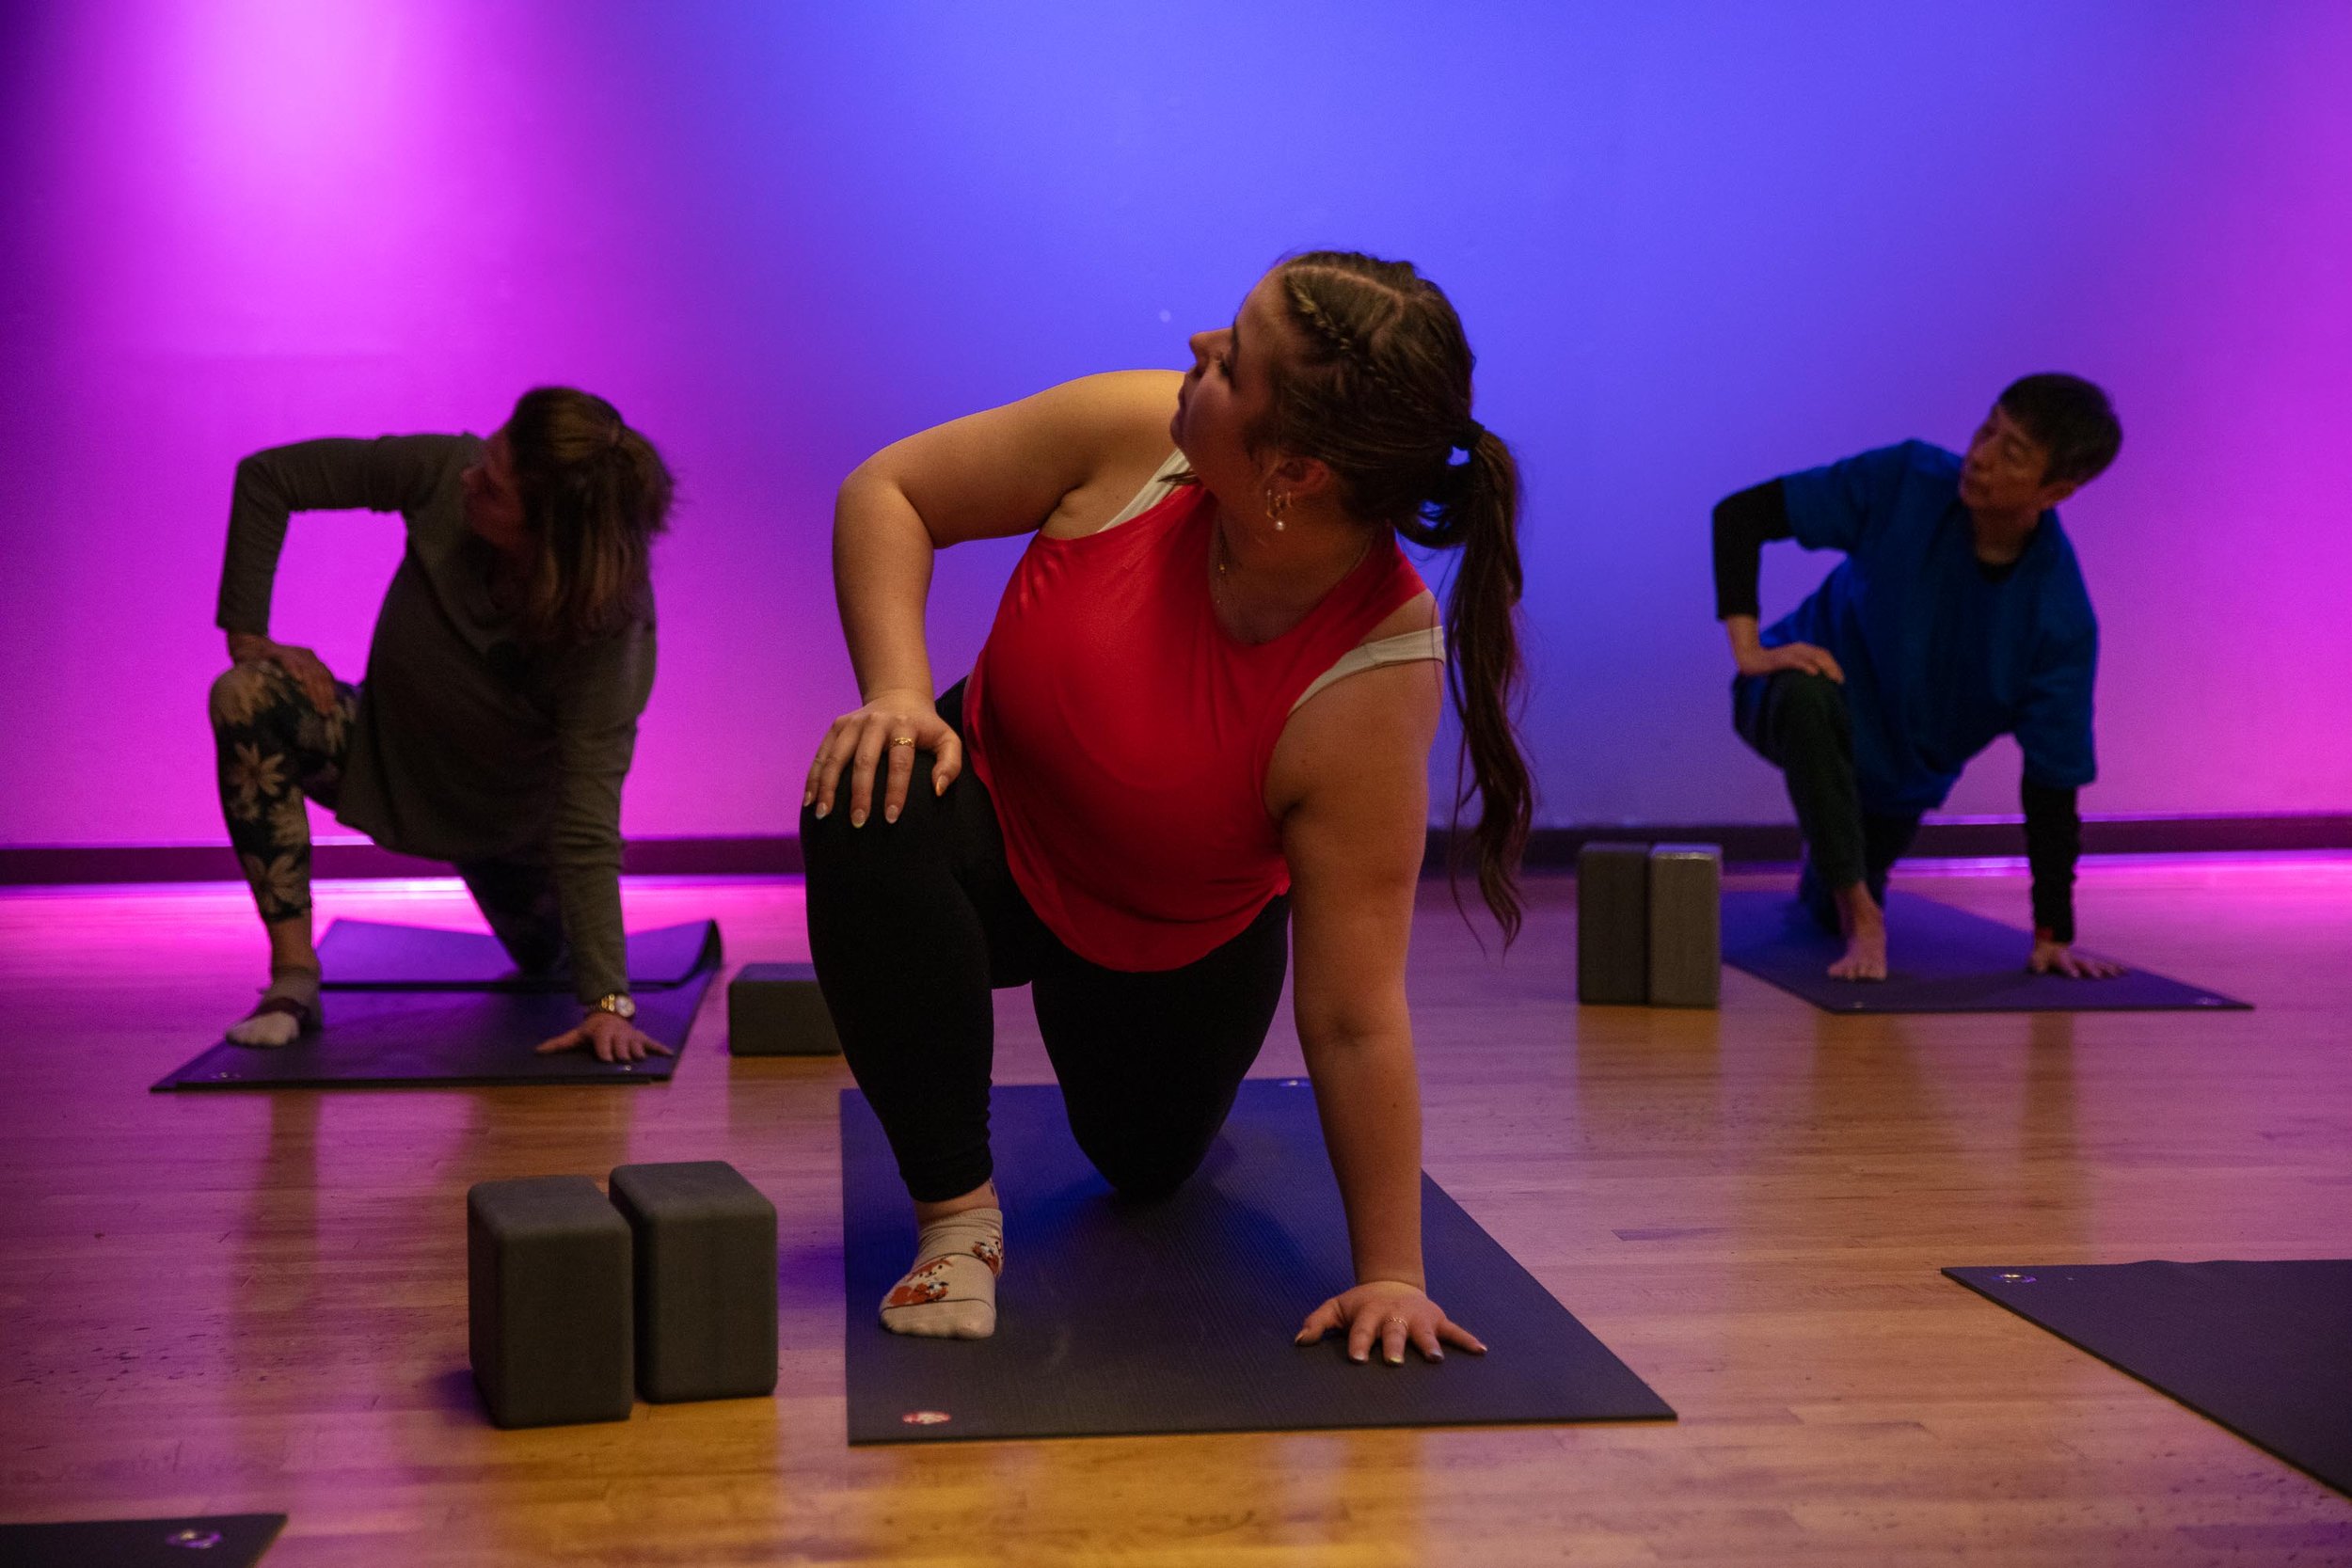
A few years ago, we shared a Summer Moves Challenge on our social profiles for Community Fitness. We had a blast sharing different challenges and seeing everyone’s video responses. A standing twist flow is one of the moves that we got asked about a lot and a move we love to use in our yoga series. You can view the video below of this sequence by Alison Solam, but we wanted to dive into the Vinyasa sequence a little deeper and describe to do it properly, what its benefits are, and what to focus on if you add this to your own practice.
[Embed this video https://www.communityfitness.com/summer-moves-challenge-5/
How To Properly Incorporate Standing Twist Asana Into Your Practice
As you can see from this video, this flow is short and sweet and can be modified however you need to increase your flexibility and work on your skills. Alison’s tips are to start with just the arms and windmill them like you are doing the crawl stroke while swimming. Be sure to move from your deepest core muscles while doing this sequence. In addition, don’t be afraid to make it your own by staying in your pain-free range and moving slower or faster.
Let’s break down the various poses you’ll be working through and describe their benefits.
Warrior II Pose
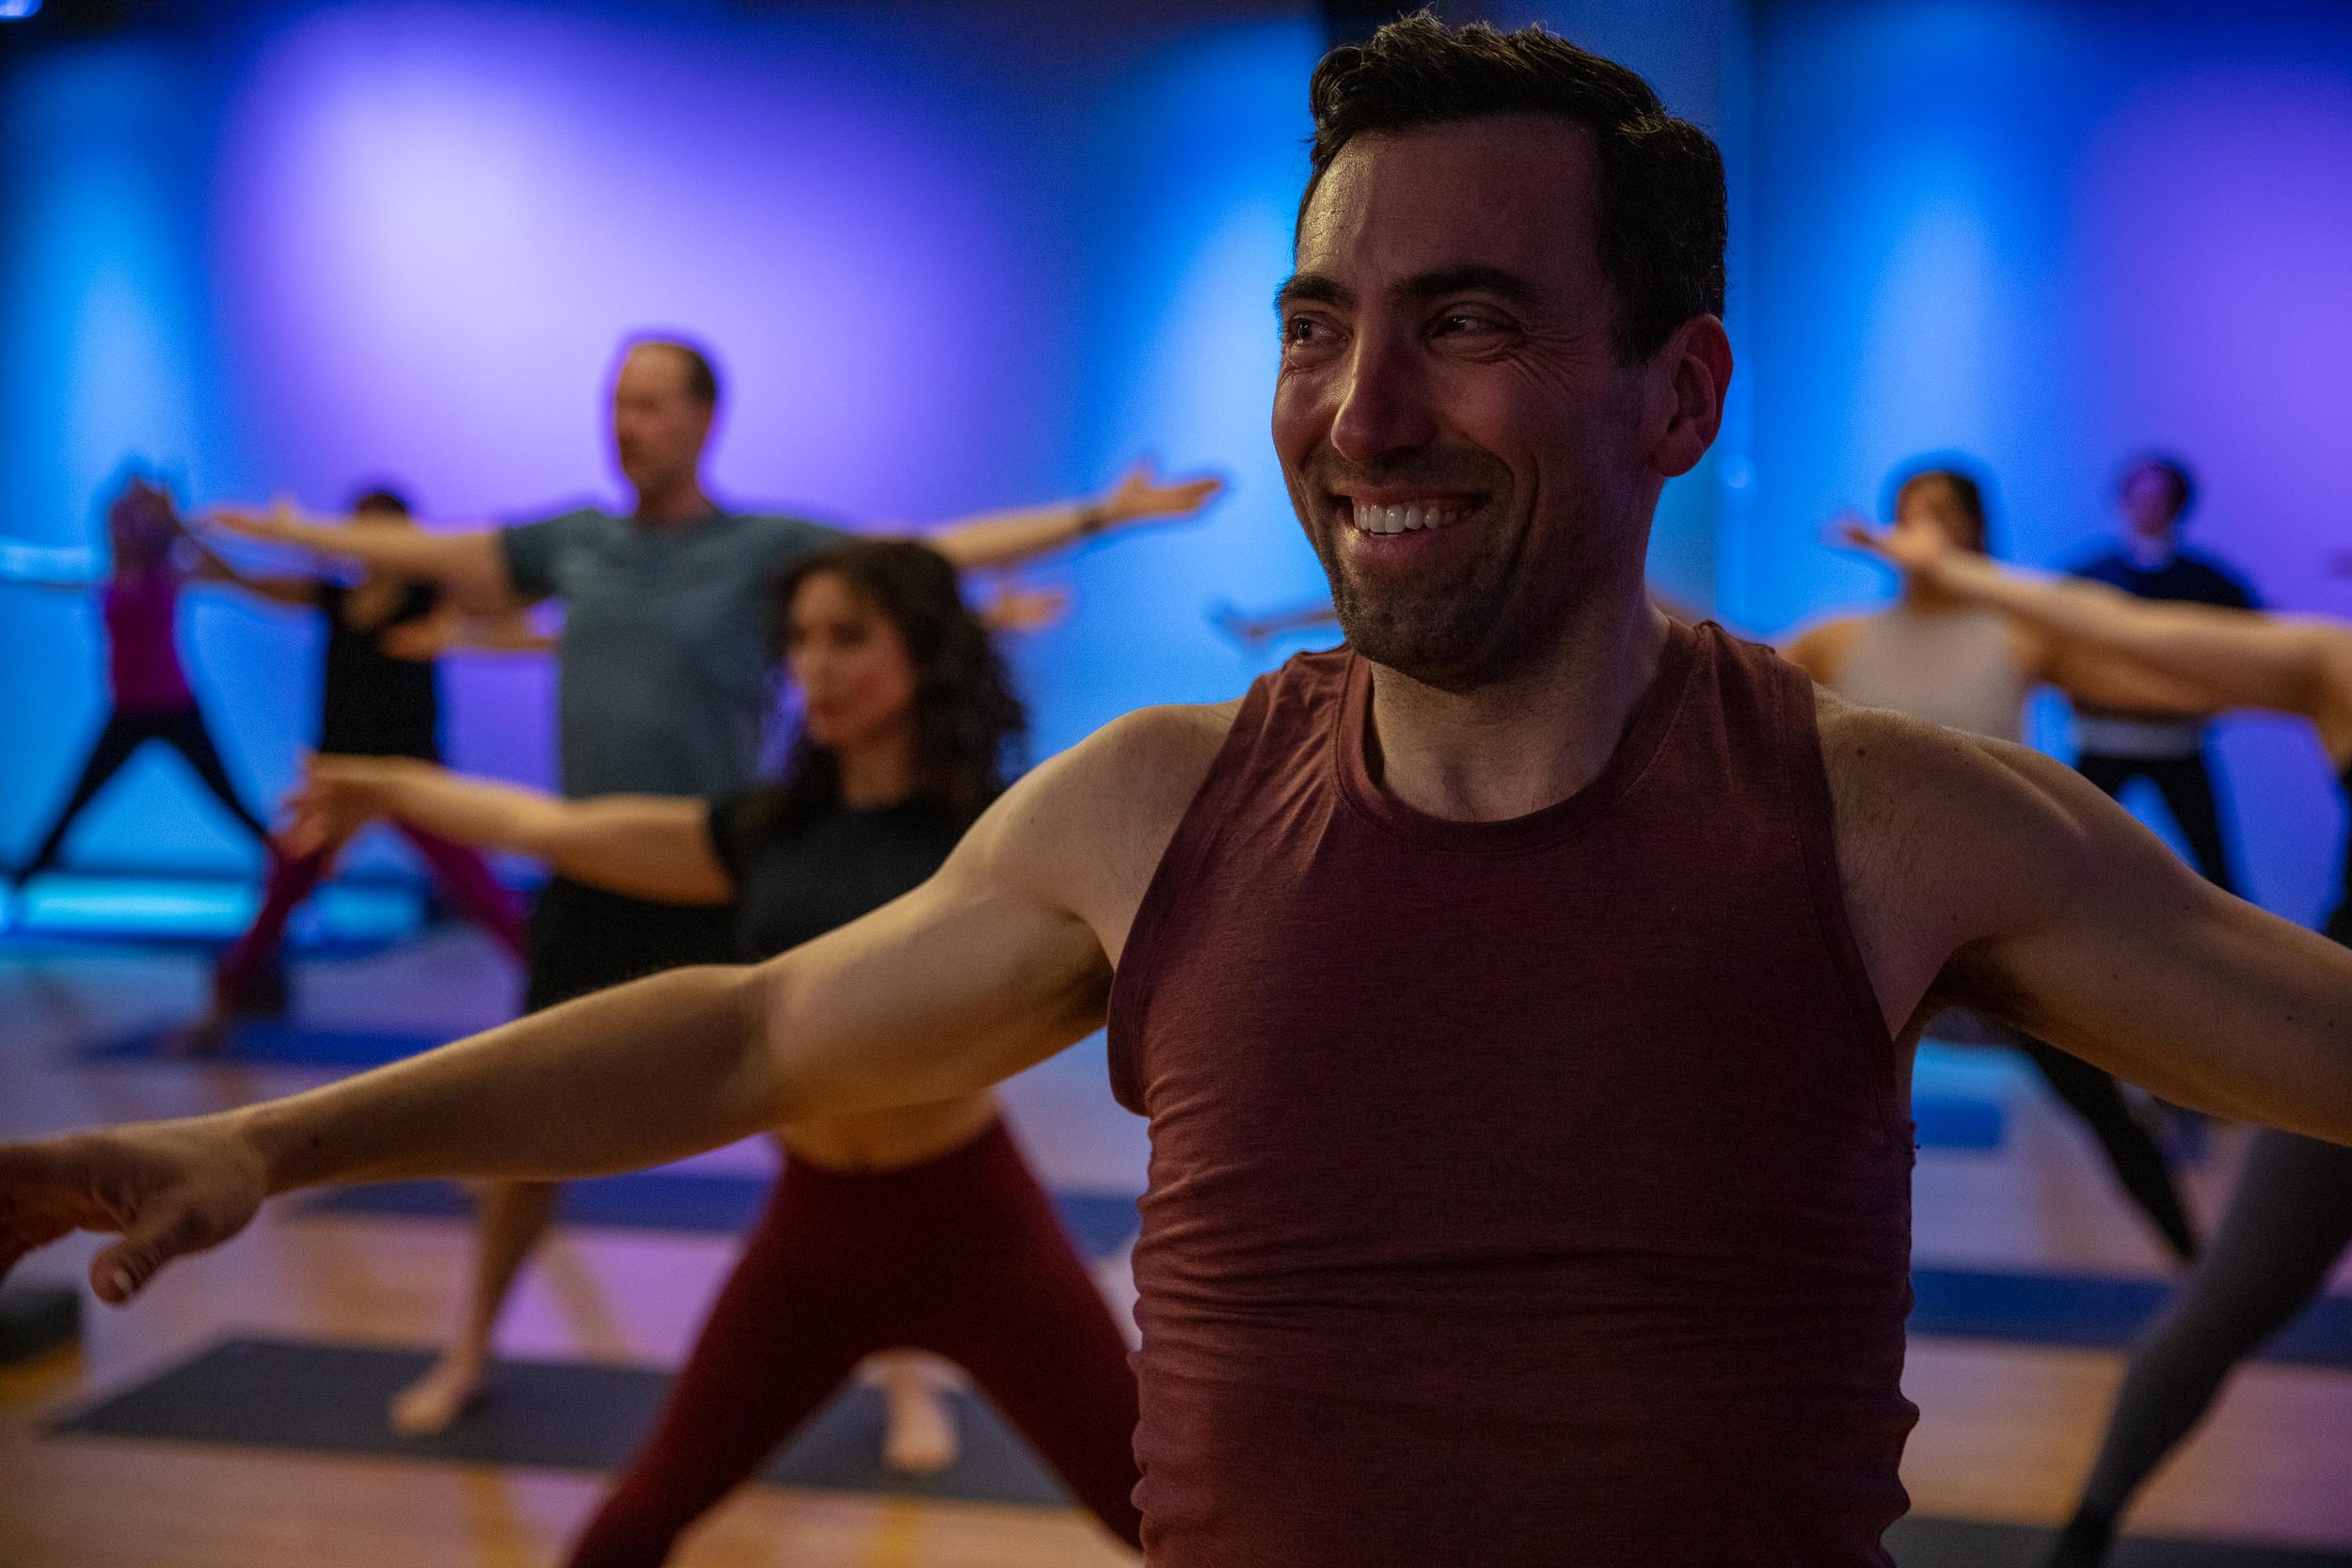
Warrior II, officially known as Virabhadrasana II, is a pose that strengthens your quads, shoulders, and your core. It’s known for giving you better stamina and helping you build a stronger foundation. With your feet about three feet apart, your front knee bends to create a stretch in your hips. Next, engage your arms by extending them straight out from your shoulders while your gaze remains calm and steady toward your front hand. This almost lunge standing posture helps open your hips and strengthens your legs and ankles.
Holding any pose for any length of time will help strengthen your resolve and focus. Remain focused on your muscles and how they feel as you breathe slowly in and out. Here’s how to execute Warrior II:
- Face the long side of your mat with your arms stretched straight out from your shoulders. Keep your feet parallel to each other in a wide stance, keeping your ankles approximately under your wrist. You can modify this by having a slightly shorter stance.
- Turn your right foot and knee towards the front of your mat.
- Angle your left toes slightly toward the left corn of your mat, then bend your right knee and stack it over your right ankle.
- Make sure you distribute your weight evenly between both legs and press down through the outer edge of your back foot.
- Keep your head stacked over your pelvis and your shoulds over your hips, keeping your torso nice and tall.
- Reach through both arms and turn your head to look past your right fingertips.
Parivrtta Trikonasana (Revolving Triangle Pose or Standing Twist)
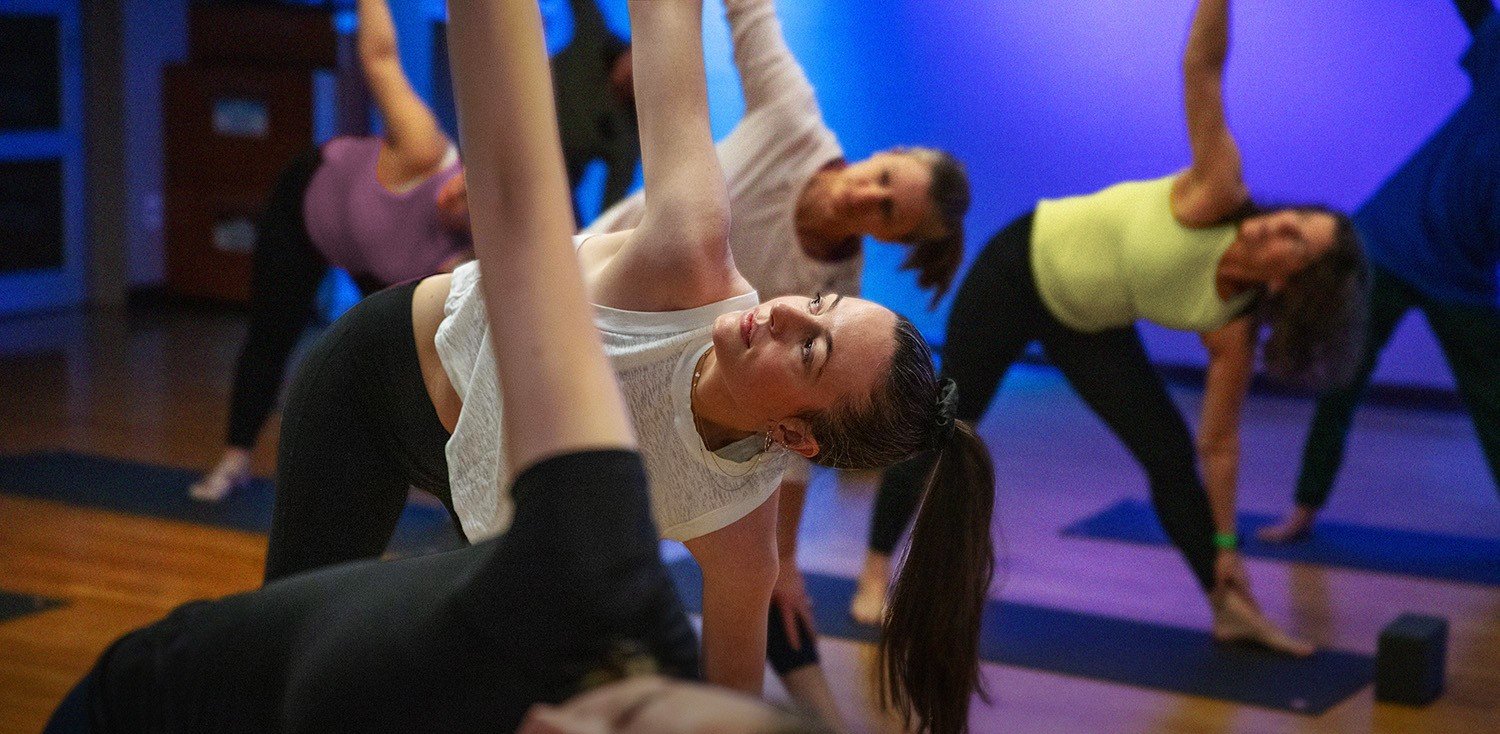
Parivrtta Trikonasana is a great pose that can help both beginner yoga practices and advanced yoga alike. Also known as the revolving triangle pose and the pose Alison is twisting into in the pose above is an excellent pose in yoga that strengthens and lengthens the hamstrings while also opening up the shoulders and stretching the hips.
This foundational posture is named for the triangle shape your body makes as you bring your bottom hand to the floor as your feet stay grounded. Many benefits of trikonasana include increased stability as it activates your core muscles. It also stretches and lengthens your spine, reducing stiffness in the spine and back, resulting in increased flexibility. Trikonasana unlocks the hip flexors and shoulders, which can increase your mobility and might even reduce your risk of exercise-related injuries. You’ll definitely want to perform this pose on both sides to get equal benefits to both hips. The triangle pose has also been known to activate your core and upper body, stimulating your digestive organs and potentially improving your metabolism. Lastly, trikonasana can help relieve the tension in your lower back, where many of us carry stress. This post can help you reduce anxiety and give you a more stable and emotional state.
These are the steps to implement this asana, but keep in mind you’ll be starting from Warrior II:
- Start by positioning your body in Warrior II, extending your arms with your palms facing down.
- Ground through your feet and engage your legs and pelvic floor muscles as you draw your lower belly up and in.
- Take a deep breath, and on your exhale, bend your body at the hip joint and extend to the side over your right leg. Next, lengthen your tailbone towards your back heel.
- Gently grab your ankle or big toe as you reach your left arm toward your right foot (or your right arm towards your left foot, depending on which foot you have forward first). Feel free to use a block if your arm doesn’t quite reach. Next, place your other hand on your hips or extend it toward the ceiling.
- Hold this pose for a few breaths as you align your shoulders and turn your head to look up towards the ceiling.
Reverse Warrior
Reverse warrior stretches the side of your torso and arms, opens your hips, and helps you build lower body strength. Here’s how to do it:
- From your Warrior II pose (right knee bent), bring your left hand down to rest on the left leg.
- As you inhale, bring your right arm up towards the ceiling, and reach your fingers away from each other. Look straight ahead or up at the ceiling.
- Keep your right knee bent and press hard into the feet as you feel the strength in your leg. Sink your hips toward the floor and relax your shoulders.
- Keep this pose for a few breaths before releasing your body into the next pose.
Extended Triangle Pose
From the reverse warrior pose, you’re going to smoothly flow into the extended triangle pose. Extended triangle is great for lengthening the spine and strengthening your thighs and torso. It also stretches the hips, groin, hamstrings, and even your shoulders and chest. This entire flow can help improve digestion because it stimulates the abdominal organs. Here’s how to execute from reverse warrior:
- Move your arms so they are reaching out parallel to the floor, with palms down.
- Firm your thighs and rotate your right thigh outward so the center of your right kneecap is once again in line with the center of your right ankle.
- Take a deep breath, and on the exhale, extend your torso to the right, bending from your hip joint, not at the waist. Reach out directly over the plane of your right leg. Count the reach by anchoring your left hip to the left side slightly. Next, strengthen your left leg and press your outer heel firmly to the floor.
- Hinge at the hip and bring your torso to the right so that your upper body is parallel to the floor.
- Reach your right hand toward the floor and stretch your left arm toward the ceiling. Your hand, arms, and shoulders will make a straight line perpendicular to your mat.
- Rest your right hand on your shin, ankle, or the floor outside your right foot, whatever you can do comfortably without crunching your torso. Keep your head neutral or turn to look up at your hand.
- Inhale to come up after holding this pose for a few breaths, and firmly press the back heel into the floor and reach toward the ceiling. Recenter into Warrior II, then reverse the feet to start the entire flow over on the left side.
Conclusion
This standing twist flow should be an experiment in movement and should be taken at a pace that you’re comfortable with. You want to challenge your muscles, but nothing should be painful or overextended. You want to focus on your breath and note that you’re engaging your core and keeping a strong foundation when breathing through this flow. Have questions? Want more yoga advice and classes? Browse through some of our other world-class flows today!
You Might Like:
LOCATION
Roosevelt Studio:
6110 Roosevelt Way NE
Seattle, WA 98115
CONTACT
Phone:
206.523.3363
Email:
General Questions
frontdesk@communityfitness.com
Membership Questions
accounts@communityfitness.com